This article is part of our guide to gas griddle and electric griddle. To discover our full guide, check out our special ENO gas griddle comparison or electric griddle comparison.
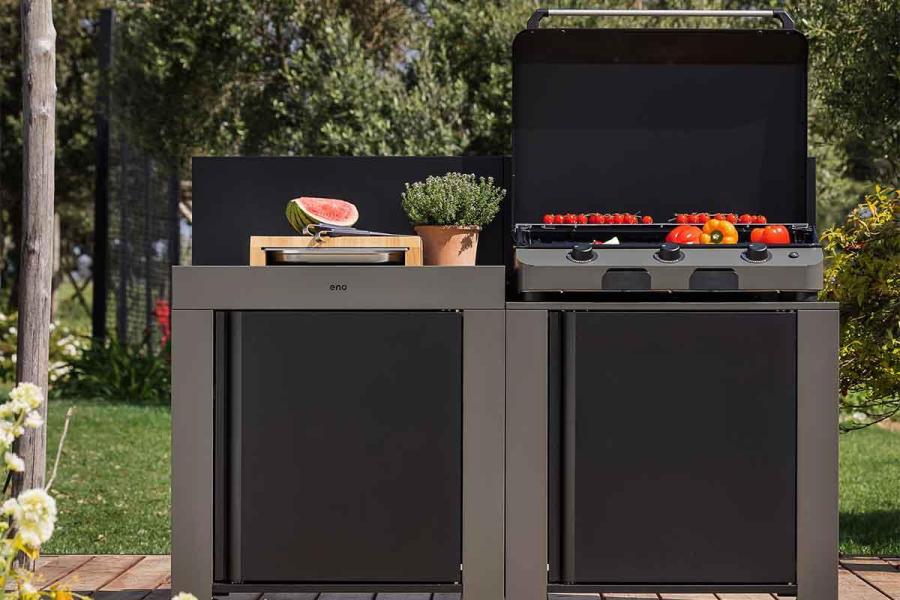
Install and use your gas griddle
Using and installing a gas griddle for the first time can be a source of many questions: where to install it, how to connect it, how to turn it on and heat its plate... As many questions to which we answer in our tutorial!
Basic rules
Here are some basic rules to follow to use your ENO gas griddle:
- Exclusive use outdoors, never indoors (ENO gas griddles are not approved for indoor use).
- Place your griddle on a flat surface.
- Clean your griddle after each use.
The laying and installation

Place your griddle on a flat, stable surface and preferably sheltered from the wind.
For a good evacuation of fats in the juice recovery tray, we advise you to slightly incline your griddle using the hind legs.
The connection
To connect your gas griddle, you will need:
- From a key of 22 and a key of 24
- Soapy water
- Of an elbow fitting G1/2
- A gas pipe
The steps :
- Place the battery in the spring (attention to the direction of insertion).
- Screw in the cap and perform an ignition test.
- Take your elbow fitting and place the joint in it.
- Screw your elbow fitting into the back of your plancha and tighten it using both keys.
- Connect your gas hose to the elbow fitting and regulator of your gas bottle.
- Use your 24 key to ensure a good tightening.
- Install the regulator on the gas bottle.
- Open the gas bottle and press the safety button of the regulator several times to prime it.
The soapy water test
In order to verify the safety of the connection, you must perform a soapy water test on the fittings installed between the plancha and the gas bottle: spray soapy water on the fittings.
- If bubbles appear, you need to tighten your joints.
- Repeat the operation until you no longer see bubbles appear.
You can safely turn on your plancha!
Lighting and heating the plate

Here are the different ways to turn on your griddle depending on your model:
- Initial and Fusion models: turn the knob to the desired power and simultaneously press the control knob and the ignition button.
- Enosign models: hold the ignition button for a few seconds and release.
You must heat your griddle to full power for 10 to 15 minutes in order to achieve a perfect doneness of your food (for more fragile foods like fish, you can of course lower the heat after heating time).
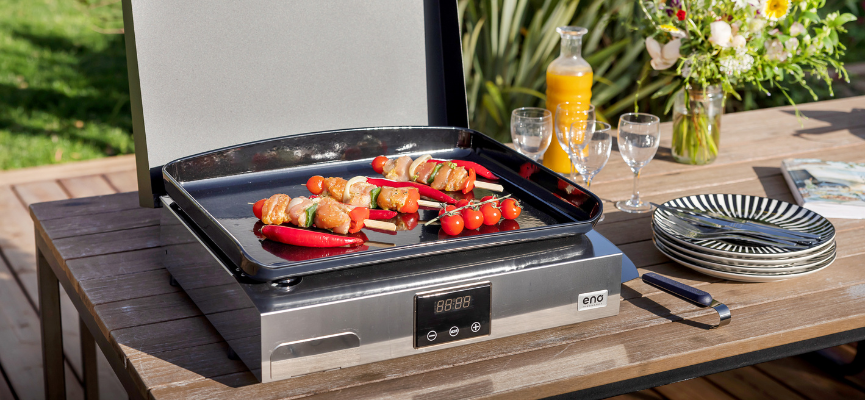
Install and use your electric griddle
The installation and use of the electric griddle can be a source of many questions: which electrical outlet should I use to connect my griddle? How should I heat it?
So many questions we answer you through this quick tutorial!
Basic rules
- Indoor AND outdoor use: unlike our gas planchas which are only suitable for outdoor use, our electric planchas will find just as well their place on the counter of an indoor kitchen, or in a veranda as in the heart of the garden or under a canopy.
- Flat and stable surface: always choose a flat and stable surface to place your electric plancha.
- Clean your plancha after each use.
Installation and laying
- Place your griddle on a flat and stable surface: this will allow optimal drainage of juices and avoid the risks of falling as well as spills of juice.
- Indoors: we recommend, if you can, to install your plancha near a window in order to evacuate as much smoke as possible during cooking. Nevertheless, your plancha will absolutely have its place in the middle or at the end of the table.
- Just like for a gas griddle, we advise you to slightly incline your griddle using the hind legs before using it, to maximize the evacuation of fat.
The connection and ignition
Which electrical outlet to use for my griddle?
The great advantage of the electric plancha is that it only requires a household outlet to be able to work. Choose a 16 A electrical outlet to connect your electric griddle.
The ignition steps
- To put the device into operation, press the "MODE" button for 3 seconds, then press the "+" or "-" button to select the desired temperature.
- The device starts preheating, the desired temperature flashes with the letter "P", once the temperature is reached the screen stops flashing.
- The "OFF" display corresponds to the "STOP" position.
- The "FULL" display corresponds to the highest cooking temperature.
- The "40°C" display corresponds to the lowest cooking temperature.
The heating of the plate
You must let your hob heat up each time you use it. Count between 10 and 15 minutes of heating at maximum temperature (FULL position) for optimal input of all your food (you can after the heating time lower the temperature depending on what you want to cook).
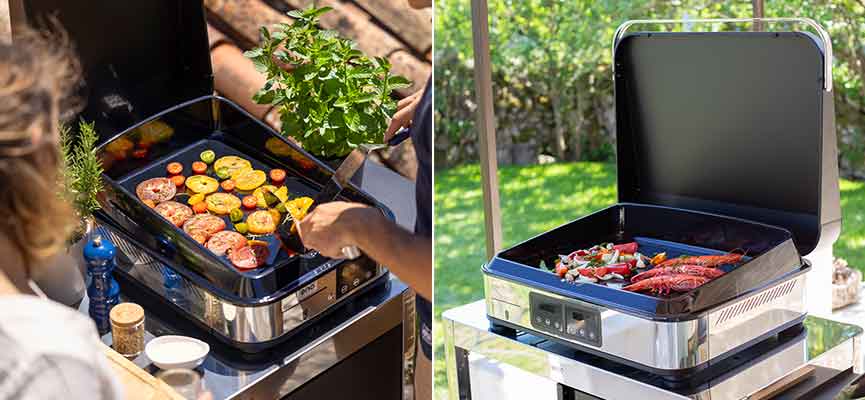
Cook
Thanks to the enameled cast iron plates that we manufacture, you do not need to put fat on your plate. You can add a little oil while cooking on pieces of fish or vegetables but over low heat (because the oil can quickly burn)!
To discover even more about the possibilities of cooking on the plancha and all our cooking tips, consult our plancha recipe guide!


